Automation: Getting Started
In addition to our existing Google Analytics integration, we're rolling out other integrations on an ongoing basis.
Overview
TrueVault Polaris supports automatically transmitting data subject requests to certain vendors. This can save your team time and prevent manual errors when submitting requests to data recipients.
Supported Vendors and Request Types
| Vendor | Supported Automation Request Types | Notes |
| Klaviyo | Opt-Out, Deletion, and Lookup |
|
| Shopify | Opt-Out, Deletion, and Lookup |
|
| Stripe | Deletion |
|
| Yotpo Loyalty | Deletion |
|
| Meta Ads (Facebook Ads) | Opt-Out & Deletion |
|
| HubSpot | Deletion and Lookup |
|
Some vendors synchronize consumer information from the upstream platform. We have confirmed the following vendors respect platform automations:
| Vendor | Supported Automation Request Types | Platform |
| Recharge | Deletion | Shopify |
Setting Up Integrations
We have a detailed guide with video walkthroughs for setting up each integration available here:
Triggering Automation
Automation is keyed on the consumer email in a data subject request. Both requests submitted via your Privacy Center and those created manually in Polaris will be considered for automation. Polaris will begin processing the request for automation after the consumer has verified their email, or right away for request types that do not require email verification.
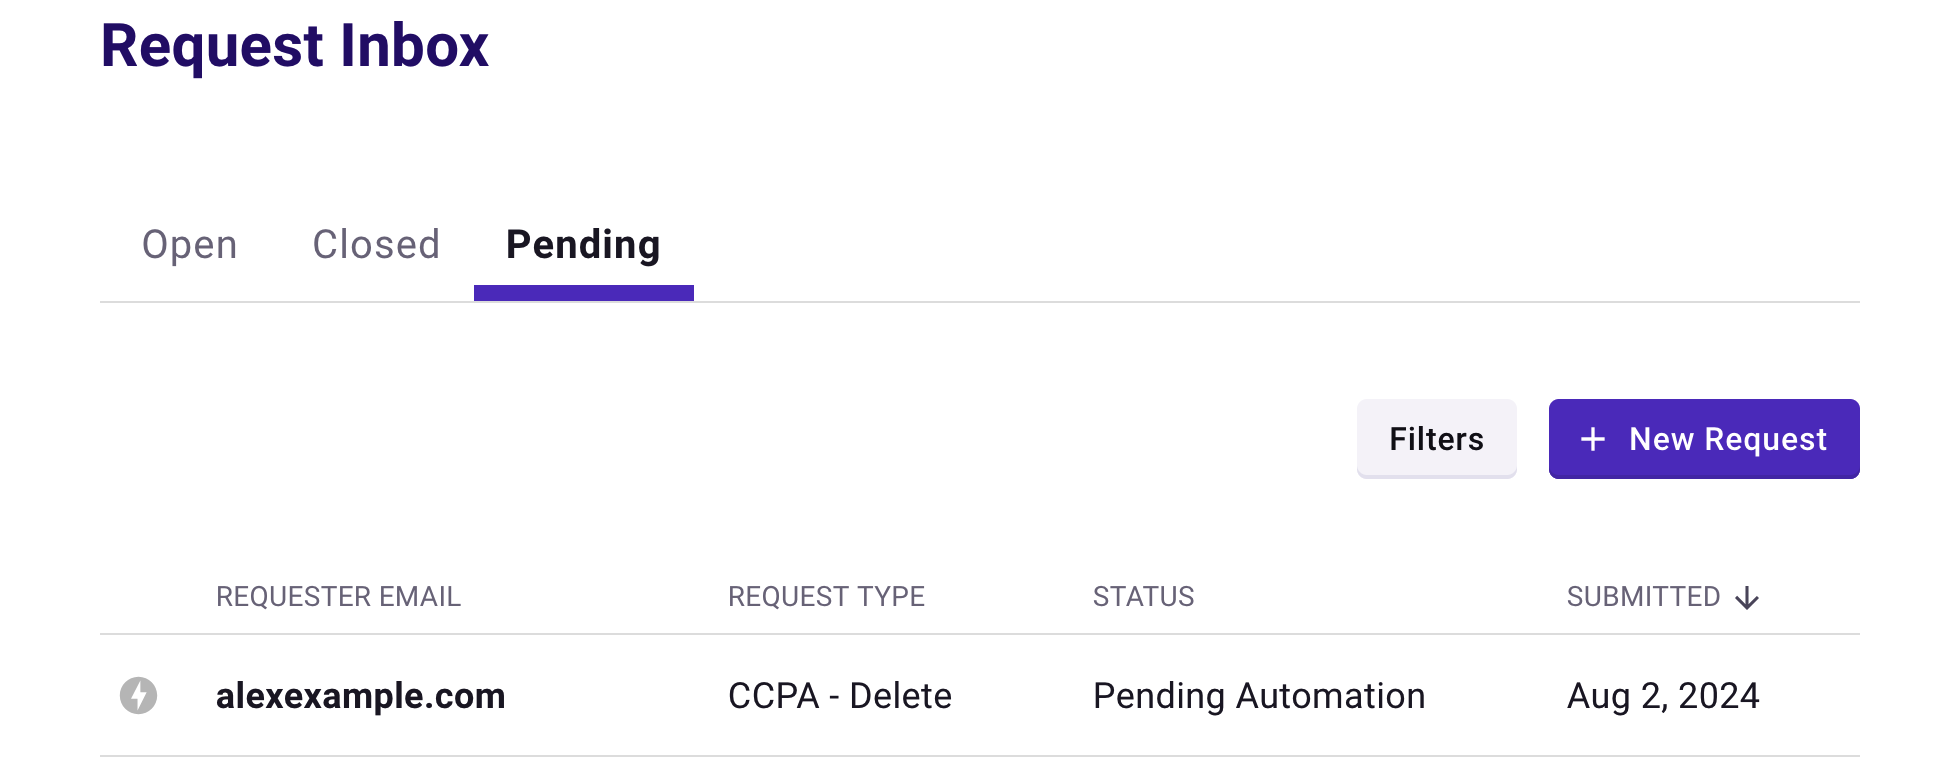
After the system finishes communicating with automated data recipients, Polaris will place the request in the Request Inbox as usual. Automated processing usually takes between 1 to 15 minutes for each request, and multiple requests can be processed simultaneously.
Validating Integrations
Manually validating that the integrations are functioning is not required on an ongoing basis, but it can be illustrative to check to see what's happening behind the scenes.
In Polaris
In Polaris, automated data recipients show an outcome for each automated vendor. There are four possible outcomes for a vendor request:
-
Confirmed: The request (e.g., Delete) was sent to the vendor, and the vendor confirmed that the operation has completed in their system

-
Sent: The request was sent to the vendor, but the vendor did not confirm that the operation finished. This frequently happens for vendors like Shopify that anonymize on a delay from when the request is submitted. There's typically nothing more you need to do in this case, as it's expected that some vendors operate on a delay or otherwise do not confirm automated requests.

-
No Data: The request was sent to the vendor, and the vendor confirmed the consumer's email does not exist in their system

-
Failed: The vendor was unable to service the request, or the request failed to be delivered to the vendor. This may indicate a temporary outage on the vendor side or a configuration issue. The request workflow will need to be manually performed for this vendor.
If you are frequently observing this outcome, double check your integration configuration or get in touch so we can help investigate.


Klaviyo
To verify a deletion request in Klaviyo, log in to your Klaviyo Account and navigate to the Deleted Profiles page. You should see a table referencing user profiles and their corresponding email that have been deleted. Any profiles that have been deleted by Polaris will appear as an "API" source in the "Deleted By" column.
In our testing, we have observed delays up to 30 minutes before a consumer appears in Klaviyo's Deleted Profiles list.

To verify an opt-out request in Klaviyo, log in to your Klaviyo Account and navigate to the Audience -> Profiles tab. Open the consumer in question and ensure your configured Custom Property with the value "Opt Out" has been set:

Shopify
Opt-Out
To verify an opt-out request in Shopify, log in to your Shopify Admin dashboard and navigate to the Customer list. Open the consumer in question and observe that the customer is indicated as having withdrawn consent for Data Sale and Sharing in the consumer history timeline. The TrueVault app icon will be adjacent to the event.

Deletion
To verify a deletion request in Shopify, log in to your Shopify Admin dashboard and navigate to the Customer list. Open the consumer in question and observe that an erasure request banner is present, indicating the date on which the customer will be anonymized.

Stripe
To verify a deletion request in Stripe, log in to your Stripe dashboard and navigate to the customer list. Stripe typically immediately and thoroughly deletes customers when it receives a deletion request, so the consumer in question should simply no longer appear in this list.
Yotpo Loyalty
To verify a deletion request in Yotpo Loyalty, log in to your Yotpo Loyalty dashboard and navigate to the customer list. Observe that the consumer in question should not be found in the table, and instead has been replaced with an anonymized record.
- Note that Yotpo currently only has good support for automating their Loyalty product. If you're using the generic "Yotpo" vendor, you will want to set up more specific Yotpo vendors for the products you use.

Meta Ads
Meta does not provide a mechanism to query a Custom Audience list for the presence or absence of a particular consumer.
HubSpot
To verify a deletion request in HubSpot, navigate to your Contacts list and ensure that the consumer in question no longer appears. Additionally, you can try to recreate them using the "Create Contact" button in the upper right - if you see a "you may not create a new contact" error, HubSpot has blocked that email due to the Deletion request.

Automating Existing Requests
If you have existing data subject requests from before setting up your vendor integrations, you can submit these requests to the automation queue for the supported vendors by clicking the "Automate" button in a request's options dropdown.

This workflow is only available for a request that meets the following conditions:
- It has not been previously automated
- It is a supported request type for automation
- It is still in the Verify Consumer or Delete Info step